I have talked with countless people who are so eager to ferment their own food and yet they express anxiety of doing it wrong. There really is nothing to lose except a couple dollars worth of cabbage (or whatever other vegetable you choose to ferment), so try it! More than likely, you'll get it right the first time and get to enjoy many great meals rich in probiotics and a nutrient-dense vegetable added to dozens of meals.
In this post, I'm using cucumbers and cabbage. You'll need something to put your sauerkraut in. If you don't have a ceramic crock, find a food grade bucket. I'm using a five-gallon size, which was able to hold 5 medium sized cabbages and 6-8 cucumbers. Any size is fine. Start small if you're hesitant to invest in a large crock. Even try a mason jar!

You'll need something to cover the bucket or crock once it is full of cabbage. I went to a thrift store and found a plate that fit relatively well. Instead of bringing in the whole crock, you could stencil the diameter of the vessel on paper and just take that with you.
Another option is to make some homemade wood covers. We boiled these for a few hours on the wood stove just to make sure they didn't carry any contaminates. Both a ceramic plate or these work great!
Now it's time to get started!
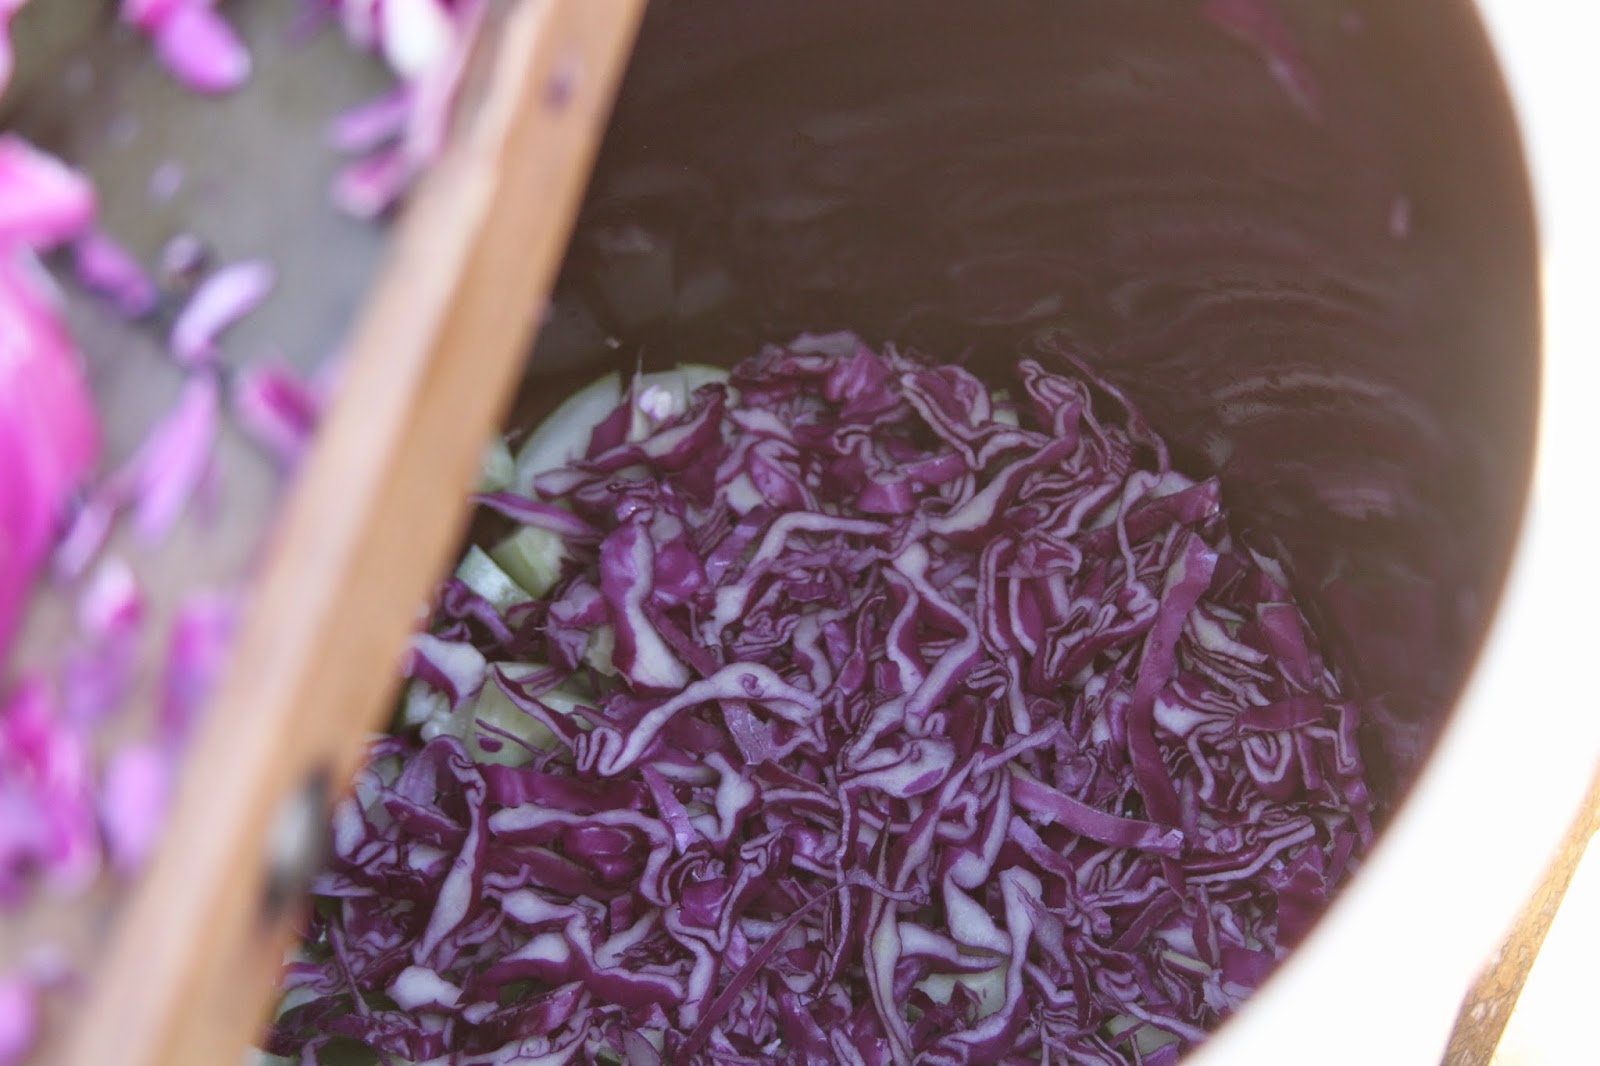
I'm using a cabbage grater that I found at an antique store. This tool makes a really fine shred to the cabbage, which is adjustable. I also frequently use a basic kitchen shredder for a finer grate or just a good ol' knife for chunky kraut. It's fun to experiment with all different sizes. So don't feel like you have to go out and buy a grater specific to cabbage.
If the weather permits, I like to make kraut outside. It's a messy project with a little one in tow, so the picnic table is a good option for me. Before cutting the cabbage, save some of the outer layers of the cabbage. You'll see why in a few steps from now…
Start to grate or chop the cabbage until the vessel is 3/4 full. You can push down on the shreds to make room for more if need be.
I didn't shred the cucumber but rather cut small square chunks. This is just a personal preference of crispiness once they are fermented. I'm just not into squishy sauerkraut…Gave Lars a butter knife and a slice of cucumber to "help out mama" with our afternoon project.
Once the crock is 3/4 full, fill it with water so that the cabbage is completely submerged. If you'll notice in the picture below, there is about 1/4 cup of fine sea salt thrown on top. I don't measure the salt but put enough in to taste. Not strong salt water, just mildly salty. With clean hands, I stick my hands in the batch and swish the salt around a bit for it to mix, then taste test.
Here's where the saved cabbage leaves come in. This is not an essential step but one I like to implement. The purpose is to help keep all of the cabbage bits submerged once the weight is on so that there will (hopefully) be none floating on top to get moldy.
Put the plate (or whatever weights you choose) over the batch.
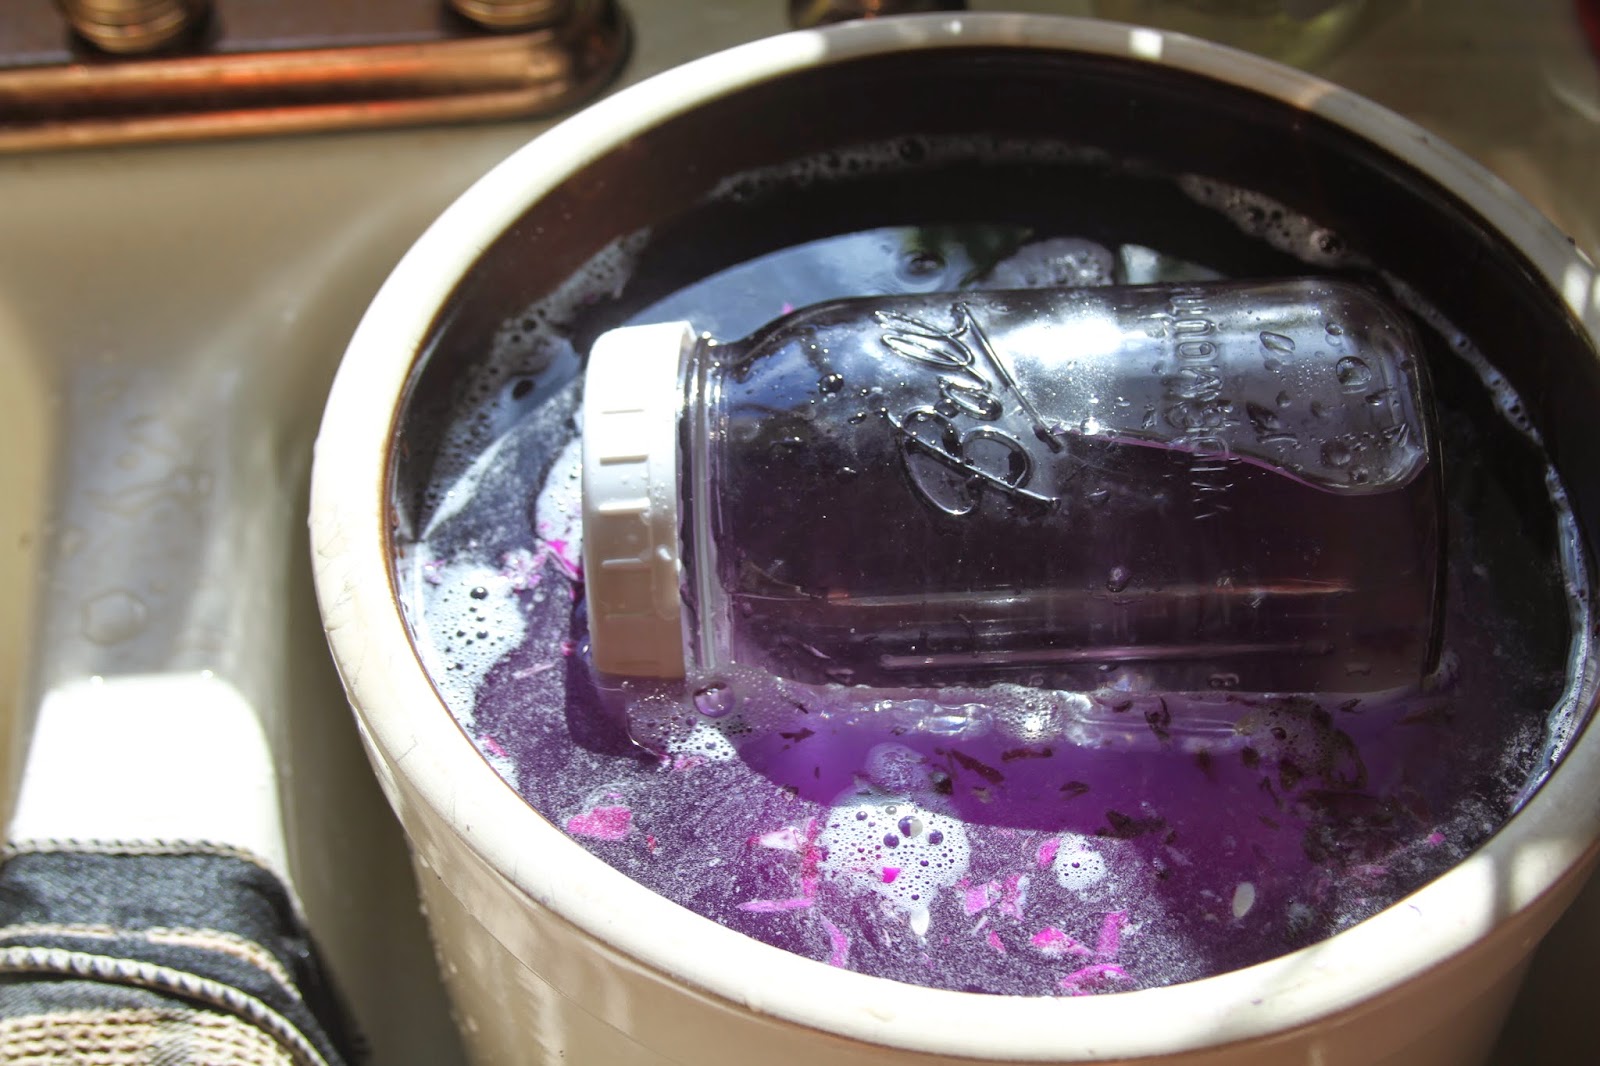
The additional weight I use is a mason jar filled with water. I use a plastic lid because the anaerobic action from the fermentation process will erode a metal lid. You can use a metal lid if the jar is standing upright.
(Notice that I have some cabbage bits that still managed to float to the top. Just remove as many as possible with a slotted spoon.)
Put a piece of coarsely woven fabric, like cheesecloth (folded many times over), a woven dish towel, linen or whatever else you find lying around. Add a string or large rubber band to tighten the towel and the wait begins!
I will mention that it's best to put your crock someplace that is not frequented by people. The fermentation process can get smelly and often reek of, well, farts. If the smell coming from your crock is gastric, it's fine. Give it about two weeks and you're ready to remove the lid (also more pleasant to do this outside) and put the kraut into jars!
Bon Apetite!
Questions? Feel free to ask more questions in the comment section and I will do my best to answer them!


No comments:
Post a Comment